
Bathroom Cleaning Checklist: How to Deep Clean a Bathroom
A step-by-step bathroom cleaning checklist for a deep clean: the right order, grout and caulk, glass shower doors, exhaust fans and mildew in damp homes.
By the C&M Cleaning Service team ·
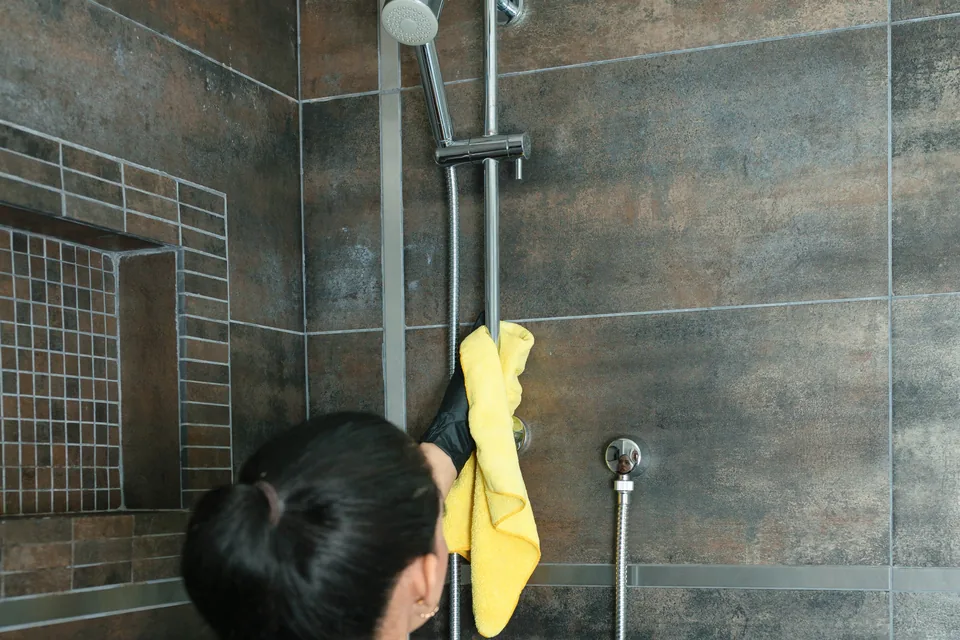
To deep clean a bathroom, work top to bottom and dry to wet: clear and dust first, apply cleaners so they have time to work, then clean from the ceiling fan down to the floor, finishing with the toilet base and the floor on your way out. That order means you never drip dirty water onto a surface you already cleaned. The checklist below covers each step, plus grout, glass doors and the mildew that damp Vancouver bathrooms are prone to.
Tools and supplies
- Microfibre cloths in several colours: one for the toilet, one for sinks and counters, one for glass
- Non-scratch scrub sponges and a grout brush or old toothbrush
- Toilet brush and squeegee
- All-purpose cleaner and a non-abrasive cream cleanser
- White vinegar or a descaler, and baking soda
- A mildew remover, if you have visible spots
- Rubber gloves, a step stool and a vacuum with a brush attachment
Safety first: never mix cleaners
- Never mix bleach with ammonia, and never mix bleach with acids such as vinegar or some toilet bowl cleaners. These combinations can release dangerous gases.
- Use one product at a time, and rinse with water before switching.
- Turn on the exhaust fan and open the door or a window while you work.
- Test on a hidden spot first. Acidic cleaners can etch marble and other natural stone, and abrasive powders can scratch acrylic and fibreglass tubs.
Bathroom cleaning checklist, step by step
Step 1: Clear out and dry dust
- Remove everything from the counter, shower caddy, tub edge and floor.
- Put towels, mats and the shower curtain liner in the wash.
- Vacuum or dry-dust the tops of the mirror and cabinets, light fixtures, baseboards and the floor. Hair and dust turn into paste once wet.
Step 2: Apply cleaners and let them sit
- Spray the tub, shower walls and glass door, and squirt toilet bowl cleaner under the rim.
- Leave them for the dwell time on the label. Letting a product sit does more of the work than scrubbing harder.
Step 3: Exhaust fan and ceiling
- Switch the fan off. If you plan to reach inside the housing, turn off the power at the breaker too.
- Remove the cover, wash it in warm, soapy water and let it dry completely.
- Vacuum dust out of the housing with the brush attachment.
- Check the ceiling around the fan and above the shower for mildew spots.
Step 4: Mirrors, fixtures and walls
- Clean the mirror top to bottom, then buff dry.
- Wipe light fixtures once cool, then switch plates, the door handle, towel bars and the walls around the toilet and sink.
Step 5: Shower, tub and glass doors
- Scrub the shower walls from the top down, then rinse.
- For glass doors, use a soap scum remover or a vinegar-and-water solution with a non-scratch pad, then rinse and squeegee dry. Much of Metro Vancouver has fairly soft tap water, so the cloudy film is often more soap scum than mineral scale.
- For stubborn spots, use a paste of baking soda and water as a gentle scrub. Do not combine baking soda and vinegar in the same step; they neutralize each other.
- Spray the door tracks, let them sit, then scrub with an old toothbrush. Tracks hold standing water and are a favourite spot for mildew.
- Clean the tub with a non-abrasive cleanser and rinse well.
Step 6: Grout and caulk
- Scrub grout in small sections with a grout brush and a baking soda paste or an oxygen bleach cleaner, then rinse.
- Once cement grout is clean and completely dry, consider resealing it according to the sealer’s directions.
- Surface mildew on caulk often wipes away. Black spots that remain after cleaning are usually inside the silicone, so cut out the old caulk and recaulk once the area is fully dry.
Step 7: Sink, counter and cabinets
- Scrub the sink, taps and overflow, using a toothbrush around the base of the tap.
- Pull hair out of the drain stopper and wipe cabinet fronts and handles.
- Look under the sink for drips or water stains while it is empty.
Step 8: Toilet, including the base
- Scrub the bowl and under the rim, then flush.
- Wipe the tank, handle, lid and both sides of the seat, including the hinges.
- With a separate cloth, scrub the base, the bolt caps and the floor around and behind the toilet. This is the spot most often skipped, and a common source of odour.
Step 9: Floor last, then reset
- Vacuum again to pick up hair that fell during cleaning.
- Mop from the far corner toward the door, scrubbing floor grout lines by hand if they look dark.
- Put back clean mats, towels and the liner, and leave the fan running until everything is dry.
Mildew and mould in damp Vancouver bathrooms
Long wet seasons and bathrooms with small windows or none at all, common in older homes and basement suites, mean moisture lingers. Mildew grows wherever water sits: grout lines, caulk, door tracks, window sills and the ceiling above the shower.
Ventilation habits that prevent it
- Run the fan during every shower and keep it running until the mirror and walls are clear. A timer switch makes this automatic.
- Hold a square of tissue near the fan cover. If it is not pulled toward the fan, the fan may be clogged or not venting properly and is worth having checked.
- Squeegee the glass and walls after each shower, and leave the door or curtain open so the enclosure can dry.
- Open a window when the weather allows, and wash the curtain liner monthly.
How to remove mould from a shower
For small surface spots on tile, grout and other non-porous surfaces, use a product labelled for mildew and follow the directions, with gloves on and the fan running. Never mix it with other cleaners. Scrub, rinse and dry the area thoroughly. If the spots come back within days, the real problem is moisture.
When mould is a bigger issue
If mould covers a large area, keeps returning, shows up on drywall or the ceiling (soft spots, stains or bubbling paint), or comes with a musty smell you cannot trace, there may be a leak or ventilation problem behind the surface. In those cases, consult a qualified professional, such as a mould remediation specialist or a contractor. In a strata building, tell your property manager too, since the source could be a shared pipe or a neighbouring unit.
Keeping it clean between deep cleans
For weekly upkeep, our house cleaning schedule shows where bathroom tasks fit, and the deep cleaning checklist covers the rest of the home.
When it makes sense to hire a professional
If the grout has gone dark, the glass never comes fully clear, or you do not have an afternoon to spare, a professional deep cleaning resets the bathroom so weekly upkeep becomes quick again. C&M Cleaning Service works in teams across Metro Vancouver using eco-friendly, non-toxic products, and is bonded and insured. For extensive or recurring mould, a remediation specialist is still the right call.
FAQ
How often should you deep clean a bathroom?
For most households, a deep clean every one to three months keeps grout, caulk and glass in good shape, with a basic clean every week in between. Shared bathrooms, or ones with poor ventilation, may need it more often. If weekly cleaning no longer removes the film on the glass or the dark lines in the grout, it is time.
How do you get black mould off shower caulking?
Apply a mildew remover according to the label, leave it for the recommended time, then scrub with a soft brush and rinse. If black spots remain after a couple of attempts, the growth is usually inside the silicone and will not clean out. At that point, remove the old caulk, dry the joint thoroughly and apply fresh caulk.
What bathroom cleaners should you never mix?
Never mix bleach with ammonia, or bleach with acids such as vinegar and some toilet bowl or descaling products, because these combinations can release dangerous gases. Use one product at a time, rinse with water before switching, and keep the room ventilated.